Tuesday, January 17, 2012

Well I'm surely imPRESSed!!

Ohhh my. Where to start with these beauties?! Well a few days ago Dulce Candy hauled these press on nails I didn't think much of it. When I actually saw them in Rite Aid I thought "hey why not give them a shot!" I mean they did claim to last an entire week so I chose the color "tweetheart". So the very next moment I was able to apply them, I did. Here's the step by step for what I personally did:
1. I removed all the nail polish from my manicure before and made sure my nails were nice and clean.
2. Using the enclosed prep pad (which is just a rubbing alcohol wipe) I wiped off all my nails so they were oil free.
3. I sized the nails to my actual nails and laid out all 10 fingers. Although very few nails were a 100% match, I still got most to be a very close match.
4. Using the little tab, I peeled off the protective coating of the sticky adhesive. When first starting this was very easy but as you apply more and more nails it's a little hard to grip. Next time I may just grab some pliers to make it super easy to remove the protective layer.
5. I then placed each nail onto my respective nail without pressing too hard. Once I was sure it was lined up I squeezed it down and even had my boyfriend give an extra squeeze to each nail to make sure they were REALLY on there.
6. And that was it!!! No drying time, no problems, just super perfect nails!

I applied these nails 3 days ago, and they appear to last the whole 7 days as the product suggests. I have baked, washed dishes, cleaned, packed and unpacked my suitcase, moved back into my apartment at college, showered every night, and done any other everyday activity you can think of that could possibly damage a nail and these have remained perfect! Back in high school I would go and get acrylic nails for a very heft price. I never really loved the shape or the thickness of them, but because it made my nails strong and allowed for polish to stay on for weeks I would continue getting them done. These nails are less than a fraction of the price of professional nail services and in my opinion look better than going to a salon! They're not too thick, not too long, just perfect.

I will most definitely be going back to purchase more. Let me know if you are going to/have tried these and if so be sure to check out their website and receive a $1 off coupon!

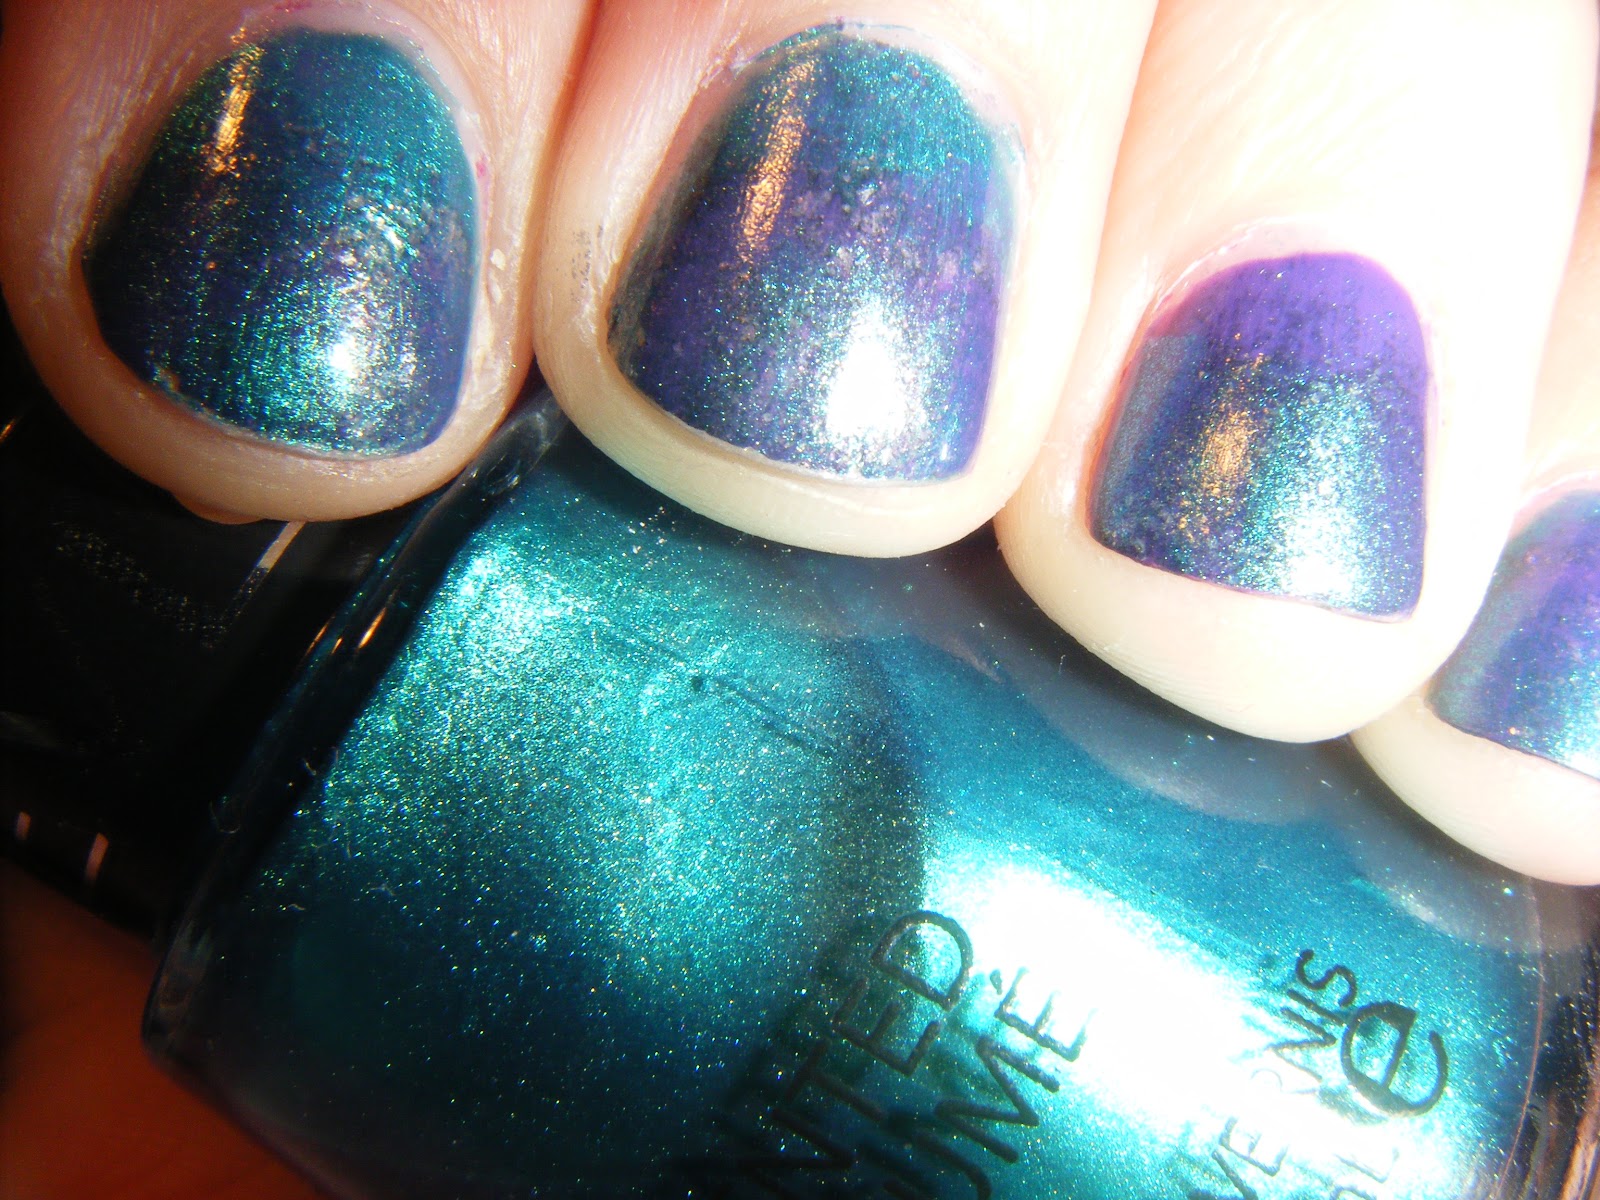
Here's some more pictures just because I love the results :)

Wednesday, November 2, 2011

Golden Stripes

After doing the purple and white stripes on my fingers back in the summer, I have wanted to to it again with fall colors. I used Essie Dive Bar and LA Colors Art Deco Nail Art in Gold. I'm not super impressed with my stripes, but I do still really like the stripes manicures.

Monday, October 31, 2011

Dramatic Cool Tones

Happy Halloween!!!

It was just one of those nights. I always love to play with makeup, and some nights before my shower I'll do crazy dramatic looks. This one is using shadows from the e.l.f. 100 Eyeshadow Palette. I also used the e.l.f. Studio Cream Eyeliner in Punk Purple, Urban Decay Heavy Metal Glitter Liner in Mullet.

Friday, October 28, 2011

Mishmash Gradient

This was one of those manicures with no real inspiration, or plan. But rather just having lots of fun seeing how different colors turn out! I used a cosmetic sponge to apply different layers of OPI Funkey Dunkey, Revlon Ocean Breeze, and Revlon Mistletoe.

Thursday, October 27, 2011

First Attempt at Water Marbling!

Sooo I finally tried it! And surprisingly it was a lot easier than I thought. After a few tries I figured out just how long to wait so the polish was still wet, but not too wet or too dry. And that fast drying nail polish does not work at all! My results are nothing near perfect, but it was still a fun experience which I will be trying many more times.
OPI Miami Beet and OPI Fit for a Queensland

Friday, October 14, 2011

Fall Foliage

When I was at Harmon the other day I was searching through the thousands of polish colors for something dark, fall-like, and unlike what I have. I found Sally Hansen 330 Gray Area and fell in love. Although the name says it's gray, its actually more of a dark purple-gray. It may be a little early for such a dark polish, but still love it. I used image plate M71 and LA Colors Baby Pink for the flower and leaves which I think looks more like turning fall leaves. 
Sally Hansen Gray Area with LA Colors Baby Pink

Wednesday, October 12, 2011

Silver Slivers

Something I have been trying to do is paint my nails in ways that "transition" between the seasons. Aka I'm trying to stretch out summer trends as long as possible. So this is what I came up with! OPI Ski Teal We Drop is one of my favorite dark colors for fall and winter, I used China Glaze For Audrey as my accent nail because the blues go so well together. Originally I thought of doing a stripe of OPI Silver Shatter down the middle, but when I went to do it, I came up with the idea to do a triangle. Enjoy!


Related Posts Plugin for WordPress, Blogger...