Today I received a much anticipated package from ELF! I haven't ordered from ELF in about half a year and I was needing some of their new products. So when they had their 50% off Studio sale I took advantage. Being a makeup-loving-college-student, ELF has become one of my favorite companies. I have only had a few products that were not what I expected, and considering about half of my makeup collection is ELF, that's quite impressive for a company with all their products ranging in price from about 1$-3$. Well, lets get started!
Most, if not all, my ELF purchases have come in a padded envelope. Inside is a clear baggie with all your products. Brushes are packaged in clear vinyl-type envelopes (the Studio Line brushes have protective covers but I never choose to use them because they aren't normally a tight fit and fall off easily.) The ELF Essentials eyeshadow quad was my free gift for referring three people to ELF, and I will not be doing a first impressions because I already own one.
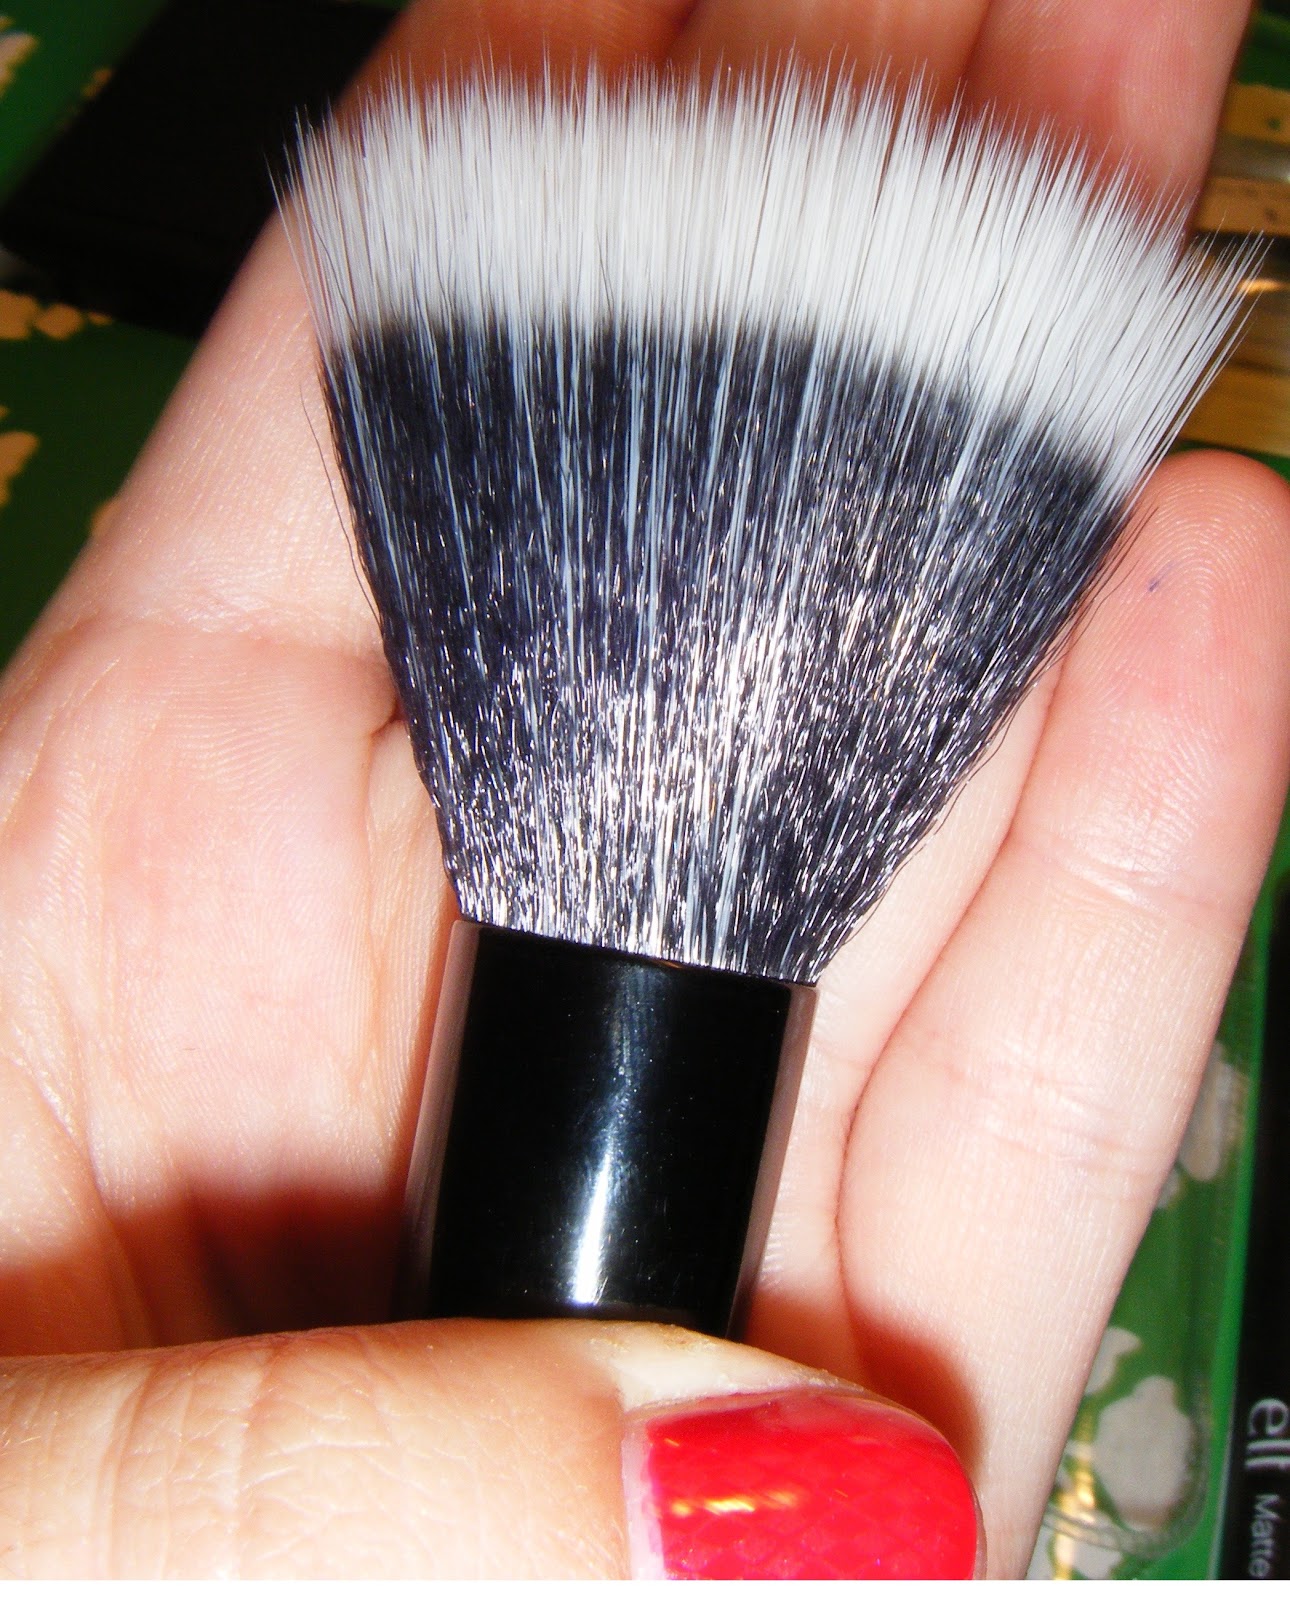
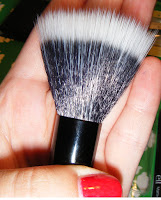
The first item I opened was the Complexion Face Brush. I already own a few Studio brushes and knew that the quality would be great! The bristles are super soft and the handle and ferrule are super sturdy. The bristles are slightly longer than I had expected, making them a lot more floppy. I'm not quite sure what this will be my go-to brush for yet. Currently I'm using my ELF Essential Total Face Brush for bronzer, and this may be it's replacement when I do the "E3" technique.

This is the ELF Essentials Smudge Brush. I do not own a smudge brush and have been using a small pencil brush for applying shadow to my lower lash line. Luckily, this seems like it will make applying and smudging eyeliner and shadow to the lash line much easier. This brush seems to be higher quality than some of the other Essential brushes I own. Some of the ferrules are very weak and I need to re-glue it to the handle, or the bristles will be falling out before I even wash it, but not this one!

The last brush I purchased was the ELF Studio Stipple Brush. It is a duo fiber brush for use applying blushes and highlighters. I have been waiting for ELF to make a brush like this and am so happy they did! I have nothing like it and am very excited to try it because it appears to be very promising. After I took pictures I went to wash my brushes which I highly recommend before using them your first time, especially ELF brushes because they come from China and usually have a milky residue coming out of them when I wash them the first time. Yuck! Nobody wants that on their face!
The Cool Bronzer was a pleasant surprise. Online (the tiny picture of broken bits) the lower left color appears to be a fuchsia-purple. Totally not a bronzing color! Luckily the color in real life is much more of a peachy bronze. All colors are matte which makes it perfect for contouring! Another pro of this is that each section is large enough to dip your brush in just that section making this product not only a bronzer, but a blush, highlighter and contour color all in one. The swatches are on my arm without any base. As you can see, there is great color pay off. The compact features a HUGE mirror which I love when traveling because I can bring just this and use it as my makeup mirror.
The eyeshadow I purchased is Wild Wheat. I own two other studio shadows and
love them. This one appears to be no different in quality. It is a lovely shimmery gold with tiny specks of glitter. The swatch has the shadow with the ELF Essential Eyelid primer (left) and with no primer (right). My camera was not picking up just how pretty this eyeshadow is! As always with the Studio Line the packaging is very sleek, and the eyeshadow also has a tiny mirror.


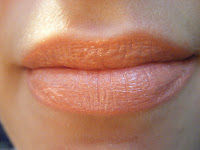

I got the Matte Lip Color in Coral. When I opened the packaging I was a little scared that the lip product would be the light pink on the bottom of the packaging. It turned out to be very misleading because the true color was, in fact, a coral. As you can see the packaging is twist-up style and it's completely full and contains a lot of product! Kudos to ELF for not jipping us on product! When applied this product is truly matte. There is no smell, or a gross texture. I also have very sensitive lips that get chapped easily, and this does not feel like it will result in any chapping! I didn't like the matte finish so much, so over it I put some ELF Studio Minty Lip Gloss in Chicago which is a golden gloss. It resulted in a perfect summer look! I'm still wearing it so I'll let you guys know how long wearing it is.
Perhaps my favorite purchases, and the main reason I placed my order, are the Radiance Enhancers. I got it in both Sunrise (pictured above) and Golden (pictured below)


They are tubes with product that are twisted on the bottom which makes the product dispense through the top tiny applicator brush. To get it to dispense you need to twist it quite a few times- so don't be afraid! Golden is, as the name suggests, a golden shimmer with gold highlights (perfect for darker skin tones!). Sunrise is a peachy golden pink shimmer. Online the color seems like a light pink, but in reality it is darker. I like that the packaging has a clear section so you can see the real color of the product, unlike my Coral Matte Lip Color... When going to grab your product you can see exactly what color you're getting instead of memorizing packaging. I believe that these will be a perfect highlight to the cheek bone, bridge of the nose, and top of my lip. I will also try these as eyeshadow bases, and perhaps even as lip shimmer. They appear to be very versatile, and perfect to pop in your purse for touch-ups on the go! The one downside is that when I went to wash my brushes I washed these swatches off too, and they came off very easily. Not quite sure if that means they will wear the same on my face or not, so we shall see!


You can expect reviews of these products in the near future. If there is a product you would really like a review of please let me know and I will review it sooner.
Thanks for reading!